Food & Lifestyle

Thursday 30 October 2014

Halloween Treats

With Halloween just round the corner, I felt it was only necessary that I wrote about some recipe ideas that I love to make every Halloween. It's the one day a year where you can really go all out on your costume, I tend to go down the gory route with an abundance of fake blood and exposed limbs, so it would seem only right that there were some spooky treats to have along side the night of celebration. Every year I make Halloween themed cupcakes to take to parties, and this year was no exception however I did also make some 'Slime Monsters' which taste super indulgent and have a certain grossness to them. There are two recipes to this post so bare with, it's a long one.

Ingredients (Makes 12)
200g White Chocolate Melted
50g of Rice Crispies
Green Food Colouring
20g Black Sugar Paste
20g White Sugar Paste
 
Equipment:
Rolling Pin
Spoon
Baking Tray
Greaseproof Paper
 
Method:
1. Start by melting your white chocolate in a large, heat proof bowl. I do it in the microwave in 30 second blasts.


2. Add around 1-2tsp of food colouring to the white chocolate and stir till fully incorporated.


3.Now add your Rice Crispies and stir through till fully coated.
#


4. Place around 2tsp of the mixture on a baking tray lined with baking parchment and repeat till all the mixture is used.

5. Put in the fridge to set for 15-20 minutes.

6. Now make a start on your icing.

7. Lightly dust your work surface with icing sugar and roll out a small part of the white icing.

6. Now take small amounts of the icing and make small balls then squish them to form little circles.

6. Now take some black food colouring and add that to the icing so it goes a dark black colour, Start by adding a tiny bit then you can always add more if necessary.


7. Take small pieces of the icing and press them into the white circles to make eyes.

 
7. Now press the eyes onto the slime balls and allow them to set completely for about an hour.


These are super simple to make and take no time at all. They are meant to look like slime but mine turned out looking kinda like something from a Pixar film. Nonetheless they taste really good! Now for the Blood Cupcakes!
Ingredients: Makes 12
125g Unsalted Butter
125g Caster Sugar
2 Eggs
125g Self Raising Flour
1 1/2 tsp of milk
1tsp of Vanilla
1/4tsp of Bicarbonate Soda
5tbsp Strawberry Jam
Frosting
150g Unsalted Butter
300g Icing Sugar
2tbsp Milk
1tsp Vanilla
Decorations of choice
2tbsp Strawberry Jam
Method:
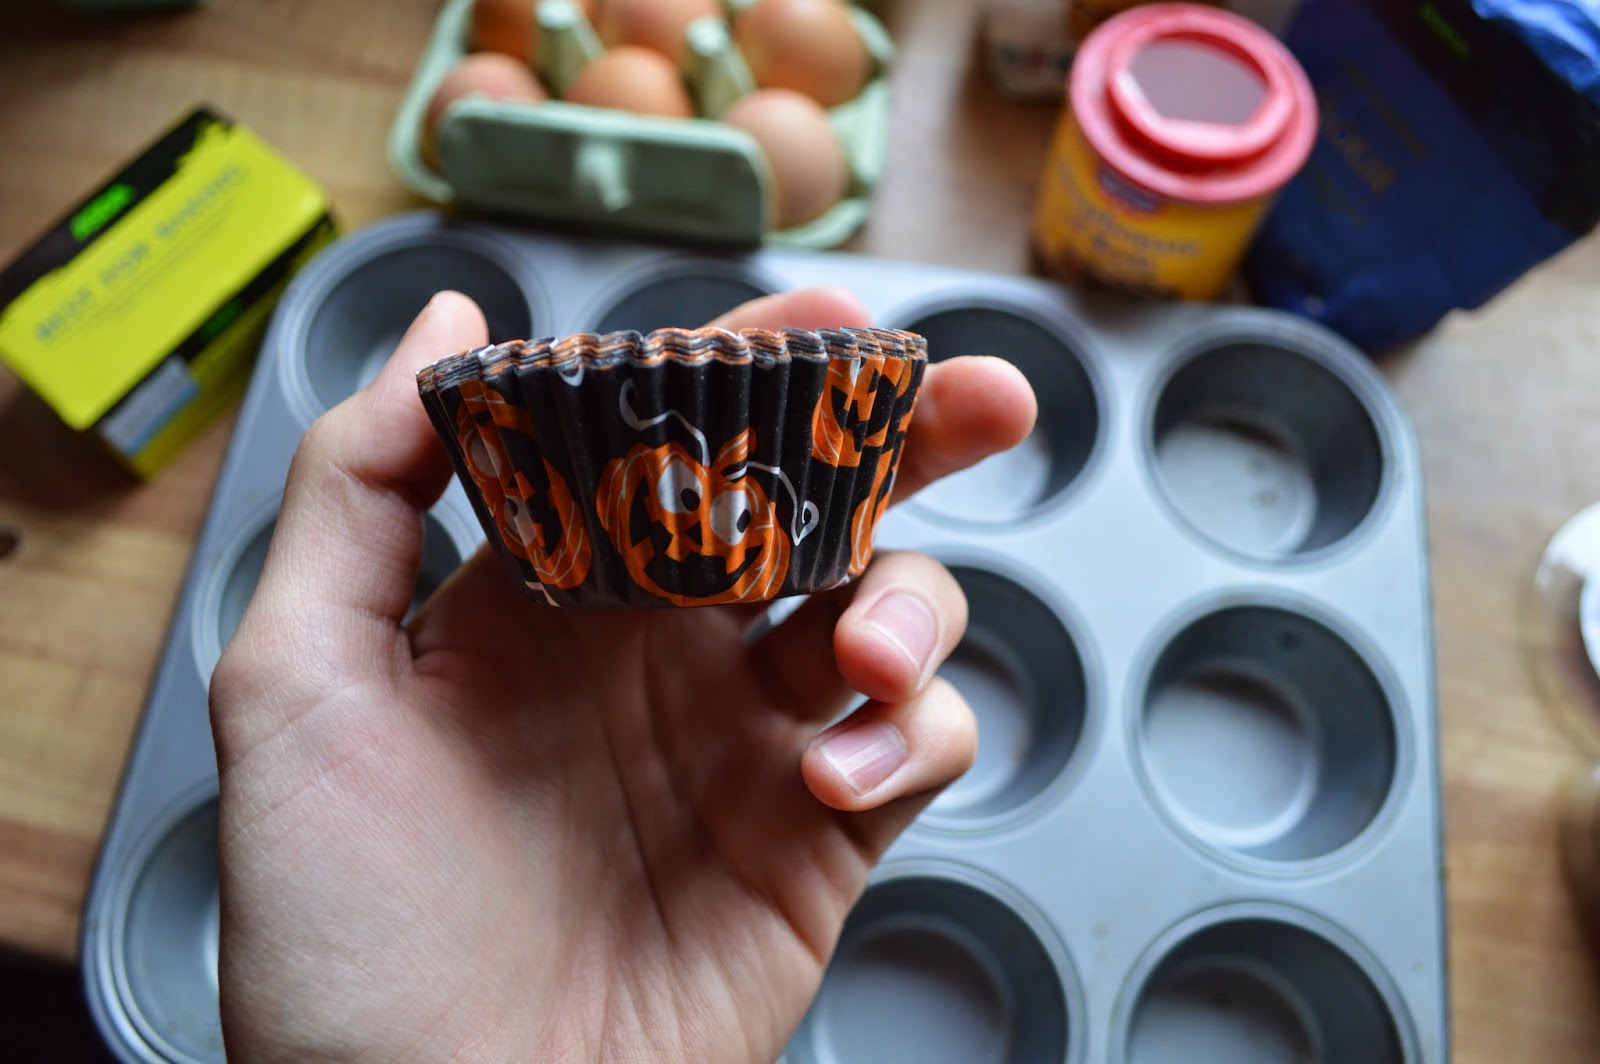
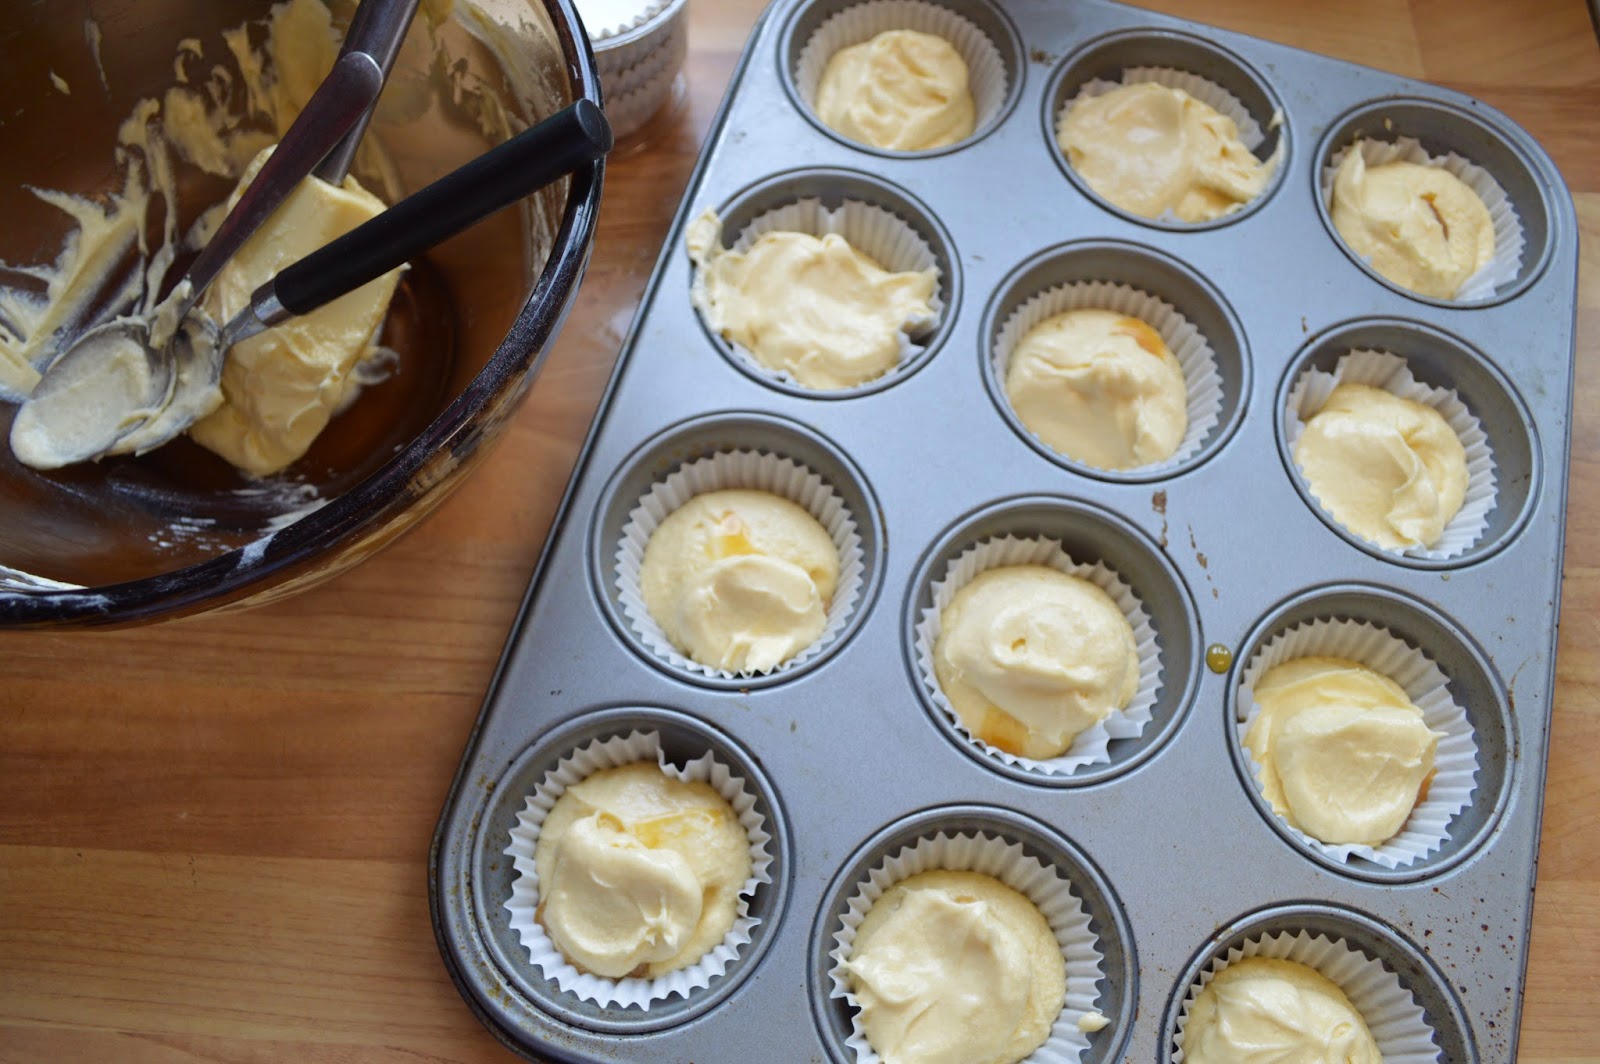
1. Pre-heat your oven to 170 degrees f. Line a cupcake tin with 12 paper cases, I got these from ASDA for £1 and I think they look great.
 2. In a large bowl, cream your butter and sugar together till pale and fluffy.
 3. Add your vanilla and whisk again.
 4. Add your eggs one at a time beating after every addition. If your mix looks like it has curdled, add a table spoon of flour and it should come back together.
 5. Now sift in your flour and bicarb soda and fold through till combined.
 6. Add your milk and stir through one last time.
 7. Spoon the batter into the paper cases, I use two small spoons to do this so it doesn't go everywhere.
 8. Fill the cases about 3/4 full as they will rise in the oven.
 9. Bake them for 20 - 22 minutes or until they're golden on top or until a knife can be inserted and come out clean.
 10. Leave them to cool while you make the frosting. Whisk the butter for 2-3 minutes until pale and creamy.
 11. Then add your icing sugar in 2 lots, or you could just spill it everywhere like I did...
 12. Add your milk and vanilla and whisk together for 3 minutes till completely smooth. Fill a piping bag with the butter cream and set aside for later.
 13. Take a sharp knife and cut a whole in the centre of the cake so that you can fit some jam inside.
 14. Add half a teaspoon to each cupcake and put the lid back on.
 15. Top with the frosting from the piping bag, you can use a star nozzle or you could just spoon it on, either way it still tastes amazing!
 16. Take some jam in a small bowl and add 1tsp of water to the jam and mix till thinned. Drizzle it over the frosting and allow it to run down the sides for that blood effect.
 17. I then topped them with edible skeletons from ASDA and some spider sticks also from ASDA.
 
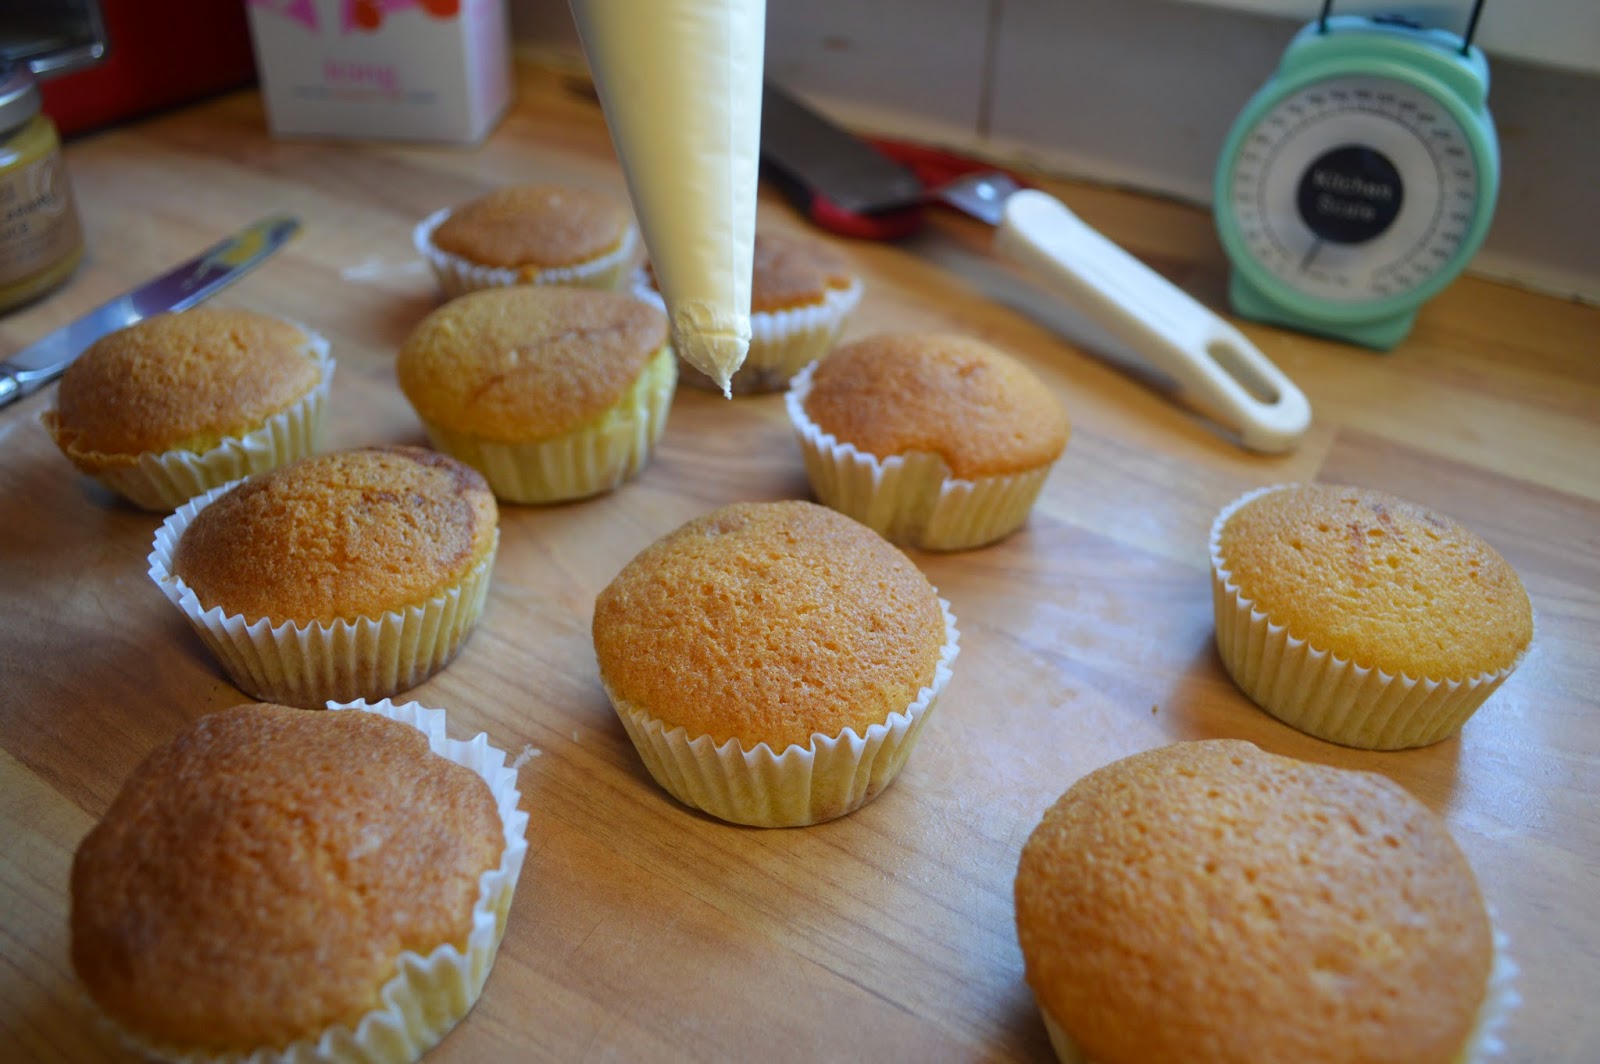
And that's it! Simple, classic cupcakes but with a spooky Halloween twist. Assure whoever you serve these to that it is jam inside and not blood...or don't if you're feeling cruel. I hope that whoever got this far, you have an amazing Halloween and fully go to town whether you're throwing a party, going trick or treating or spending the night in with some spooky films, regardless have a great night!
 
Let me know as always if you try this recipe and comment how it turns out.
 
Happy Halloween,
 
Luke.
SHARE:

Wednesday 15 October 2014

Salted Caramel Cupcakes

Recently I was out shopping and randomly wandered into Marks & Spencer. I always go in there for treats. I know it can be expensive but the things they sell are so nice! I wandered up the sweet isle and saw on the shelf "Salted Caramel" in a jar with a picture of some ice cream and some warm oozy caramel melted on top. After being recommended to buy it from a friend and an M&S worker actually coming up to me and saying it's amazing I was sold!
The jar was £3 and I can tell it will last me while for sure. It's so nice on Ice cream, in hot chocolates, on desserts and puddings or in this case...in cupcakes! This recipe came together after I was thinking what things it would be nice with and sure enough, cupcakes came to mind. The salty caramel drizzle on top of the sweet butter cream and a surprise caramel centre make these cupcakes on in their own.
Ingredients: (Makes 12)
Cakes:
125g of Self Raising Flour
125g Unsalted Butter
125g of Caster Sugar
2 Large Free Range Eggs
1/4tsp of Bicarbonate Soda
1 1/2tbsp of Milk
1/2tsp of Vanilla Extract or Paste
3tbsp  of Salted Caramel
Frosting:
200g Unsalted Butter (Room Temperature)
450g Icing Sugar
3tbsp Milk
3tbsp of Salted Caramel
Chocolate Balls to decorate
Equipment:
12 whole cupcake tray
12 cupcake liners
Piping Bag or Spatula
Bowl
Electric Mixer
 
Method:
1. Start by pre-heating your oven to 170 degrees f. Line a cupcake tin with 12 cupcake liners and set aside for later.
2. In a large bowl, whisk together your room temperature butter and sugar for about 2 minutes till it is nice and pale and it has fluffed up a little.
 
2. Now add your eggs one at a time, whisking after every addition.
3. Add your vanilla extract and whisk again.
4. Now sieve in your flour and bicarbonate soda and fold together till smooth.
5. Add your milk and stir one last time till fully combined.
 
6. Get your cake tin and place about 1tbsp of the mix in the cake case and repeat for all 12 cases.
7. Now add about half a tsp of the salted caramel in the centre of each cake and repeat for all 12 cakes. Alternatively you could use toffee or caramel sauce if you don't have the salted caramel.
8. Put enough batter over the top to cover the caramel but only till the cases are 3/4 full, they will rise in the oven.
9. Bake them for about 20 -22 minutes, I would check them after 20 as mine where done then. If a knife can be put in the middle of a cake and it comes out clean it's done. Leave them to cool in the tin for 5 minutes the transfer them to a wire rack to cool completely. As you can see one had to be 'tested' in other words I couldn't wait for them to cool...
10. While your cakes are cooking, you can make your frosting. Add your butter to a bowl and whisk for 3 minutes till it has gone really pale.
11. Now add your icing sugar in two lots and whisk well after every addition. Once you have added all your sugar, whisk for 2 minutes continuously. It takes time to get good frosting so the more you whisk, the nicer it is.
12. Add your vanilla and milk and whisk for a final time.
 
14. Spoon your frosting into a piping bag and twist the nozzle at the top.
15. Pipe onto the cake at a 90 degree angle applying even pressure so that it doesn't all come out an once. You could spread the frosting on if you don't have a piping bag.
16. Take about 3tbsp of your caramel and put it in a bowl to melt in the microwave for 30 seconds. Stir till it cools and spoon over each cake.
 
17. Top with the chocolate balls or any decoration you could like and enjoy.

This really is a simple recipe but done well you will get some amazing results that both look and taste super! This makes around 12 cupcakes so there is plenty to go around or you could just eat them all although I wouldn't recommend this...As tempting as it may be.
 
Tweet or Instagram me with a picture if you make these cakes and be sure to let me know how they turn out if you make them.
 
As always, thanks for reading,
 
Luke.
 
SHARE:
Blogger Template Created by pipdig