

Ingredients: (Makes 12)
Cakes:
125g of Self Raising Flour
125g Unsalted Butter
125g of Caster Sugar
2 Large Free Range Eggs
1/4tsp of Bicarbonate Soda
1 1/2tbsp of Milk
1/2tsp of Vanilla Extract or Paste
3tbsp of Salted Caramel
Frosting:
200g Unsalted Butter (Room Temperature)
450g Icing Sugar
3tbsp Milk
3tbsp of Salted Caramel
Chocolate Balls to decorate

Equipment:
12 whole cupcake tray
12 cupcake liners
Piping Bag or Spatula
Bowl
Electric Mixer
Method:
1. Start by pre-heating your oven to 170 degrees f. Line a cupcake tin with 12 cupcake liners and set aside for later.
2. In a large bowl, whisk together your room temperature butter and sugar for about 2 minutes till it is nice and pale and it has fluffed up a little.


2. Now add your eggs one at a time, whisking after every addition.

3. Add your vanilla extract and whisk again.

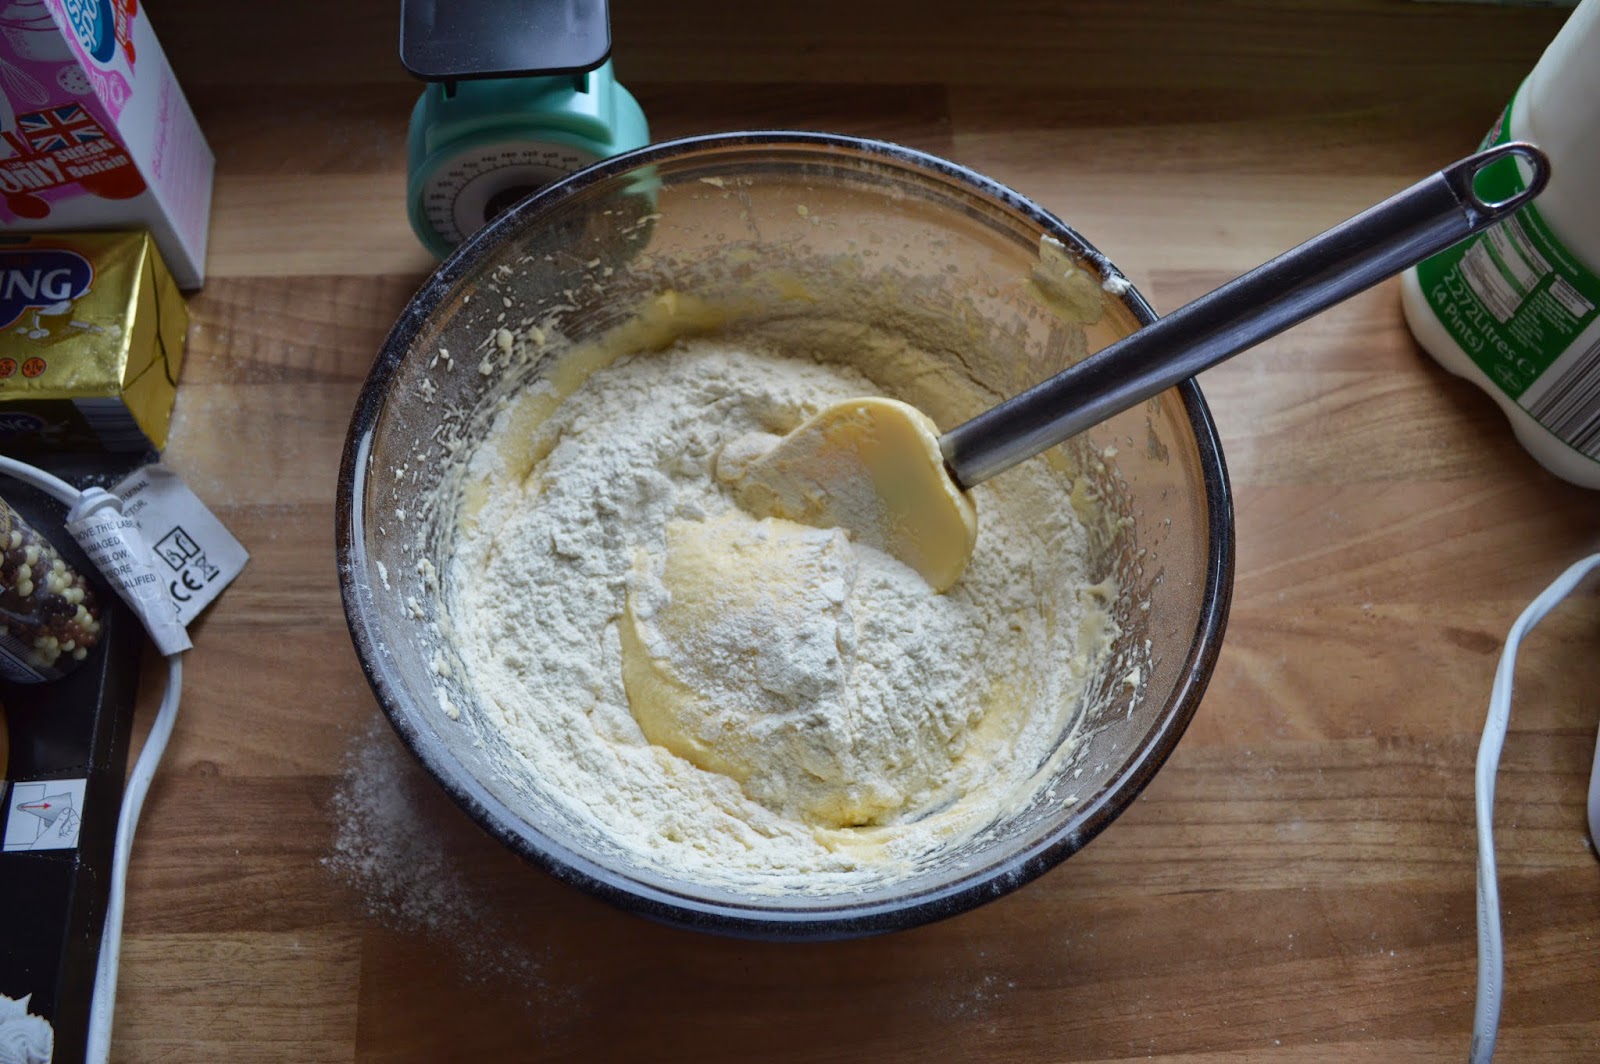
4. Now sieve in your flour and bicarbonate soda and fold together till smooth.


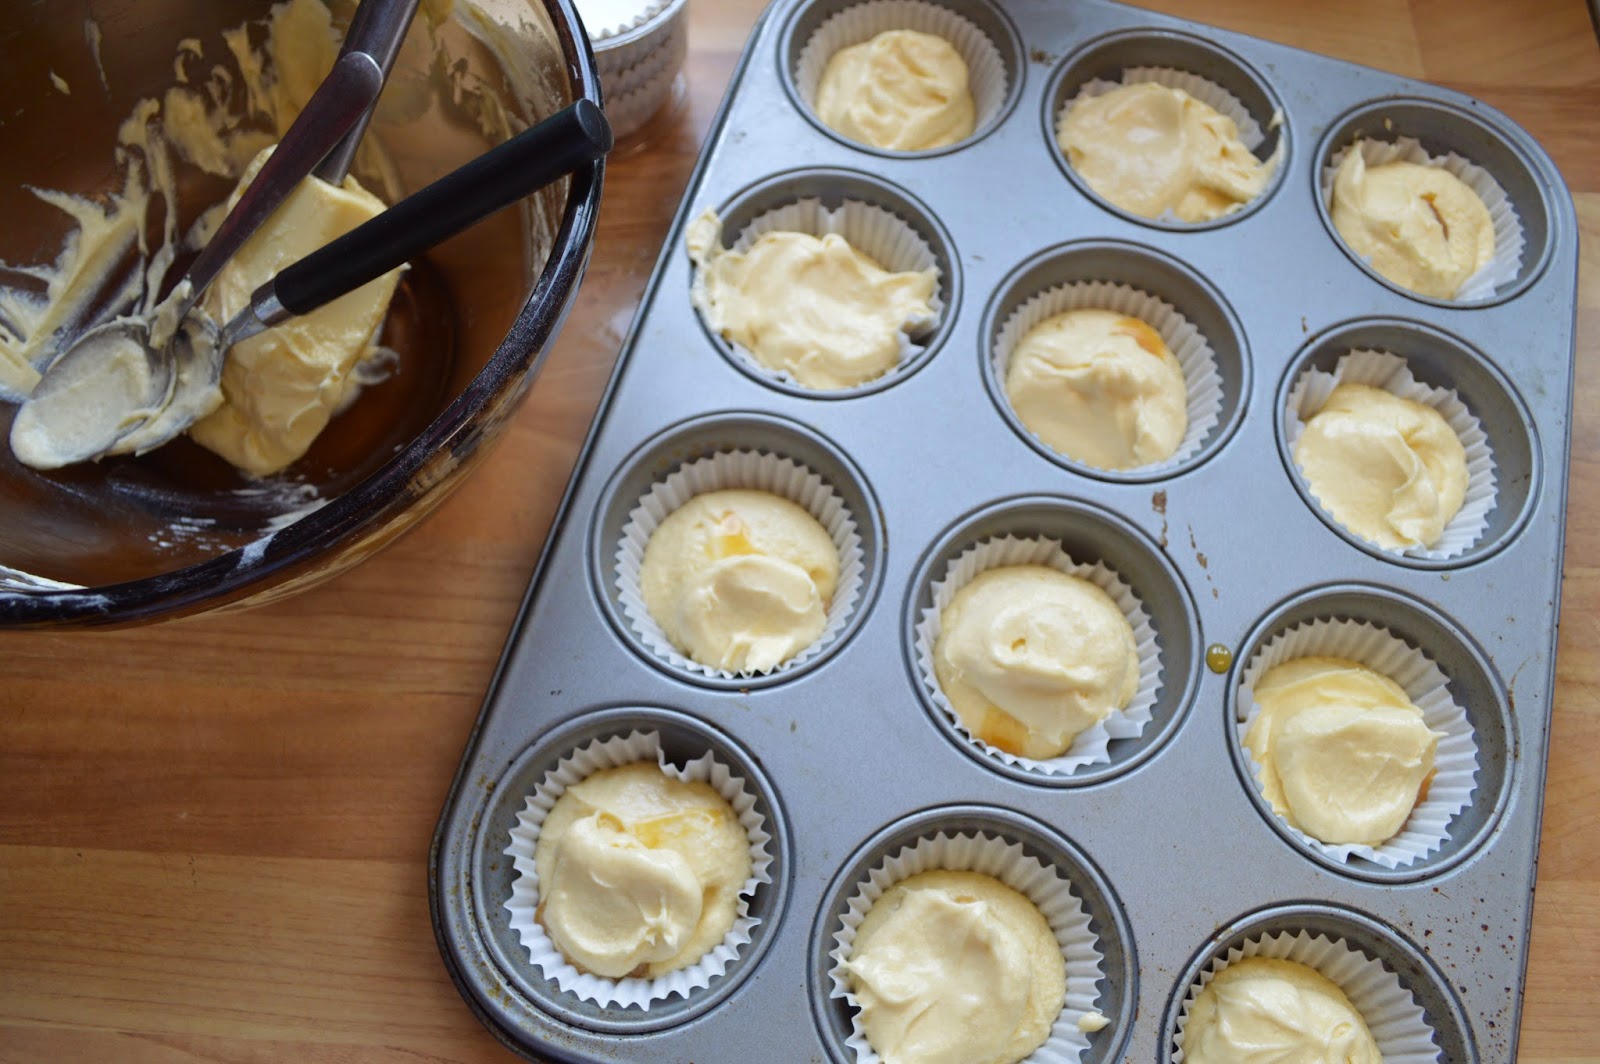
7. Now add about half a tsp of the salted caramel in the centre of each cake and repeat for all 12 cakes. Alternatively you could use toffee or caramel sauce if you don't have the salted caramel.

8. Put enough batter over the top to cover the caramel but only till the cases are 3/4 full, they will rise in the oven.
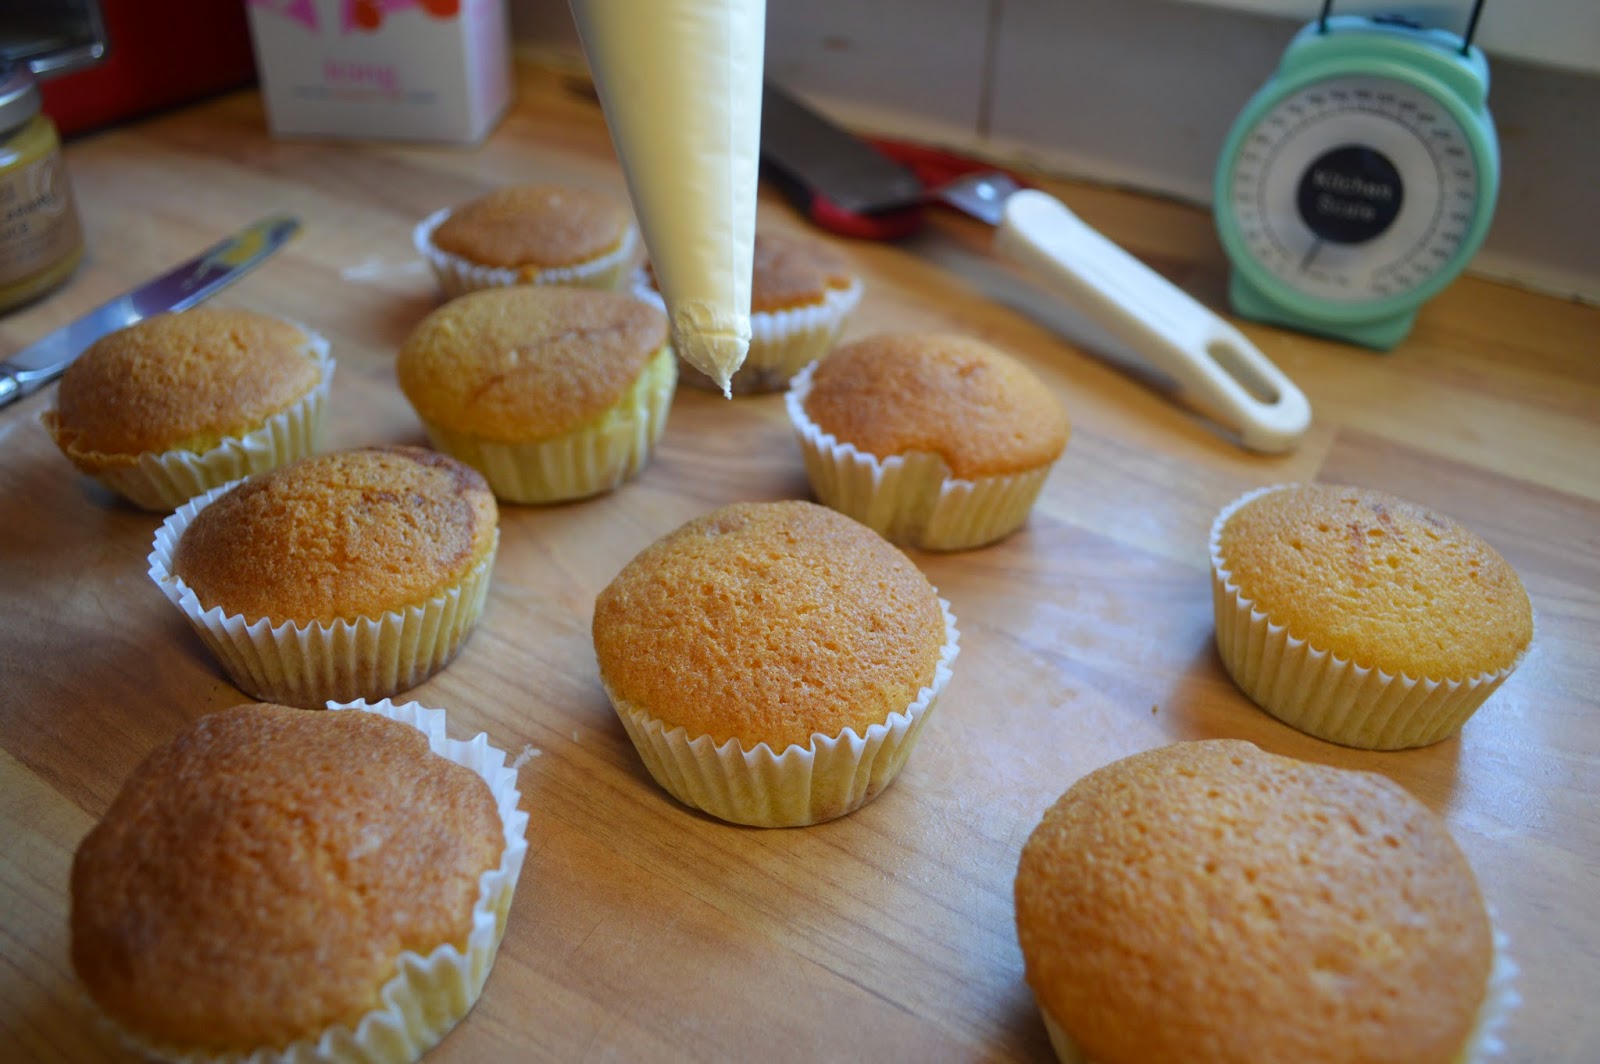
9. Bake them for about 20 -22 minutes, I would check them after 20 as mine where done then. If a knife can be put in the middle of a cake and it comes out clean it's done. Leave them to cool in the tin for 5 minutes the transfer them to a wire rack to cool completely. As you can see one had to be 'tested' in other words I couldn't wait for them to cool...

10. While your cakes are cooking, you can make your frosting. Add your butter to a bowl and whisk for 3 minutes till it has gone really pale.

11. Now add your icing sugar in two lots and whisk well after every addition. Once you have added all your sugar, whisk for 2 minutes continuously. It takes time to get good frosting so the more you whisk, the nicer it is.


14. Spoon your frosting into a piping bag and twist the nozzle at the top.

15. Pipe onto the cake at a 90 degree angle applying even pressure so that it doesn't all come out an once. You could spread the frosting on if you don't have a piping bag.
16. Take about 3tbsp of your caramel and put it in a bowl to melt in the microwave for 30 seconds. Stir till it cools and spoon over each cake.


17. Top with the chocolate balls or any decoration you could like and enjoy.


This really is a simple recipe but done well you will get some amazing results that both look and taste super! This makes around 12 cupcakes so there is plenty to go around or you could just eat them all although I wouldn't recommend this...As tempting as it may be.
Tweet or Instagram me with a picture if you make these cakes and be sure to let me know how they turn out if you make them.
As always, thanks for reading,
I'm in love with your blog! These look amazing, very tempted to make them now ;) soo good!!
ReplyDeletehttp://lauraann-xo.blogspot.co.uk/?m=1
Thank you so much Lauren! It means a lot. You definitely should they're super easy but so tasty.
DeleteThese look and sound amazing, I'm gonna have to make them some time soon I think.
ReplyDeleteThank you Georgia! You really should, they taste so good! Let me know how they turn out if you make them.
Delete