Food & Lifestyle

Tuesday 26 August 2014

Polagram Polariod Idea

So recently I was just scrolling through twitter when I saw a company being promoted, they were called 'Polagram'. There was an image along side the link to the app and website which showed someone's images being displayed on their wall. I really liked this idea and I thought I'd give it a go!


The idea is simple, choose as many photos as you want and upload them to Polagram, they then give you the option to add a caption, all you have to do is pay and wait for your prints to be delivered straight to your door. No fuss, no hassle and really fast delivery times. I used the iPhone app but you can do it online.

Now that I had the photos, I needed to think of a way to display them. I had a look on Pintrest to get some inspiration and saw that people were hanging them in lines from furniture in their room. You can follow my pintrest by clicking the icon above. I really liked this idea so I went with it. I ordered 100 mini pegs from eBay which were £1.29 free delivery and bought some rope/string for 70p.
The main focal point of my room is the wall you're greeted with when you first walk in. So I thought I would hang them from the shelf on my wall. I ordered 11 polaroids and they fit perfectly on the line.


I used the string as a guide to the length I should cut it. Baring in mind, you'll need a little extra on each side and maybe 10cm more so you can fit all your photos on the line.

If you would like to order yourself some Polaroids then use the code in the image below to save money on your order and earn credits for future prints.

I love the idea of creating personalised things for your room, and you can instantly change these up with new photos or create a new line somewhere else in your room.

You can download the app 'Polagram' from the App Store for iPhone and Android users, I'm not sure if other phone users can get the app so use this link which takes you to their website www.polagr.am/en/ Also you can take a photo of how you've displayed your Polagrams and tag the company on Instagram or Twitter for a chance for your photo to be put on their page.

Thank you very much for reading, as always you can follow me on Bloglovin to never miss a post or follow me on all my other social media platforms, the links are above.
 
Luke.
SHARE:

Monday 18 August 2014

Cloudy Strawberry Lemonade Recipe

We're coming into the last few weeks of summer an I'm really struggling to say goodbye to the warm nights and 9am sun sets. This still hasn't stopped me enjoying the last few rays of sun shine and rustling up my favourite summer drink which is: Cloudy Strawberry Lemonade.
I honestly don't think it can get any better having an ice cold glass of this in your hand with a pic-nick blanket and getting into your favourite book. You could easily put this in sealed bottles and take it to garden parties or to the park to enjoy with a crust-less cucumber sandwich and a slice or two of Victoria sponge cake. Truly British!
Ingredients:
2 Cups of Water (1 Pint)
1 Cup of Sugar (200g)
1 Cup of Lemon Juice (200ml)
1tbsp of Lemon Zest
2 Cups of Sparkling Water (750ml)
1 Pint of Strawberries (500g) Hulled, Cleaned and Halved
Ice Cubes
Fresh Mint
Extra mint sprigs and strawberries for decoration
Equipment:
Blender
Jug & Glass
Sieve
Wooden Spoon
Medium Pan
Scales/ Cup Measurements
Grater

 Method:
1. In a large pan, measure out your water and sugar and empty it into the pan. Place the pan on a medium - high heat and bring to the boil, stirring occasionally. When the mixture comes to a boil, reduce the heat until all the sugar has all dissolved in the water.
 2. While your water and sugar is boiling, Prepare your lemon juice and zest. It's probably best to zest the lemons first and then juice them but since I have no common sense, I did it backwards. Still worked fine. I recommend rolling the lemons before juicing as you get the most from them that way.
 3. I put the juice and zest into a measuring jug as it was easier to pour into the sugar syrup.


4. Take your sugar syrup off the heat and reduce the heat to low. Pour your lemon juice and zest into the pan and stir.
5. Return the pan back to the heat on low and stir occasionally for 2 minutes. Once that's done, turn off the heat and transfer it back to the jug. Again, you don't have to do this but it makes it a lot easier to pour unless your pan has a spout.

 6. Place a sieve over the glass jug and pour the lemon mix through the sieve, making sure it catches all the pip's and zest.
 7. Set the lemon syrup aside to cool then place it in the fridge to cool completely.
 8. While you wait for the juice to cool, you can make the strawberry juice to go into the lemonade. Take the tops off the strawberries, half them and give them a wash.
 9. Place them into a blender and blend till smooth.

 10. Add around 12 ice cubes to the pitcher of cold lemon syrup to keep the drink ice cold.
11. Now pour all the strawberry syrup into the pitcher.
 12. Use the a stirrer or in this case, the handle of a wooden spoon and stir the lemonade together.
 13. Fill the jug to the top with soda water. I used lemon and lime flavour to make it extra tasty.
 14. Add some fresh mint sprigs to the jug.
 15. Slice some pieces of lime up and place them into the jug.

 16. I saved a few mint sprigs and strawberries for presentation. Add a few more lime segments to your glass and fill 1/4 with the soda water. Now pour your lemonade to the glass and enjoy. You might want to add some more ice cubes at this point to make the drink extra cold.
 And that is it, I took a pick-nick blanket in the garden and enjoyed and ice cold glass of this in the sun. It's really lemony, super refreshing and perfect for those hot days or warm nights where you're eating outside with some nibbles and need something super tasty and refreshing. There is nothing more satisfying than making homemade lemonade.
 I hope you've enjoyed this recipe, as ever thank you for reading and feel free to contact me if you have any questions. All of my links are at the top of my blog. If you make this recipe, I would love to see the photos! Tag me in anything you make, it really makes my day.

Much love everyone, thanks for reading.
 
Luke.


SHARE:

Tuesday 12 August 2014

Summer Outfit

Although we technically might be in the last month of summer, I am still holding on tight to my shorts and sun glasses. On Thursday, I went to Newcastle for something to eat and to just have a wander around. Luckily the weather was kind to us as so it was sun all round.

This outfit here was put together with the weather in mind, I'm all about versatility and being able to dress up or dress down items of clothing. I'd class this look as being 'Relaxed Beach' but like I say, you could button the shirt up, match it with some skinny jeans and desert boots for a smarter look.
Shirt: Hollister £19.99
Vest: Primark £2.50
I am all about making a statement, sometimes if you play it too safe, you look too washed out. So I chose to wear this bold flannel shirt from Hollister unbuttoned with the sleeves rolled up to make this look relaxed. I then went for a neutral grey vest underneath both to keep me cool rather than a t-shirt but to even out the bold print of the shirt.
Sun Glasses: Topman £10.80
Watch: ASOS traveller watch (Present
Bracelets: River Island £3
Having a main focus on your outfit means you should keep accessories simplistic. I thought the shirt was quite bold so I went for my simple black strap watch and two rope bracelets. I didn't think it needed anything else. Also I've been loving my new sunglasses, they're just so different to what I'd normally go for so I really enjoy wearing them.
Jeans: River Island £24.99
 Shoes:White Converse, Schuh £45
Again, because of the heat I opted for shorts. I think getting a good pair of denim shorts in your wardrobe is a staple and you can literally wear them with anything and they go! I rolled the bottoms up slightly just to have them above the knee. Simply matched with my trusty white converse, again a staple and they go with anything.

And that's it, practical, comfortable and smart enough to not feel underdressed in restaurants. Leave me a comment saying you're enjoying these outfit posts and I'll be sure to feature more as the seasons change.
As ever, thank you for reading,
Luke.


SHARE:

Tuesday 5 August 2014

Strawberry and White Chocolate Cheesecake Slices...

In-case you haven't gathered already from my multiple posts about food, I'm a desserts kind of person. I always have been, even from a young age my mam tells me stories of me watching my nana bake, and then when her back was turned licking the bowl and taking the first slice of chocolate cake before anyone had a chance...and probably a second and third slice...I was a chubby baby!

Nostalgic child stories aside however, Cheesecake is probably up there in my top 5 desserts, and trust me its there for a good reason. There is just something I don't think you can beat, dense biscuit base, smooth, creamy topping and possible flavour combinations that could go on forever. It's got to be one of the all time best desserts out there. It's so versatile, I love that you can essentially combine your favourite flavours and add it too your cheesecake recipe. I LOVE white chocolate and fresh summer strawberries so here it is, my Strawberry and White Chocolate Cheesecake Slices.
Ingredients: Makes 9-12 slices depending on size
Base:
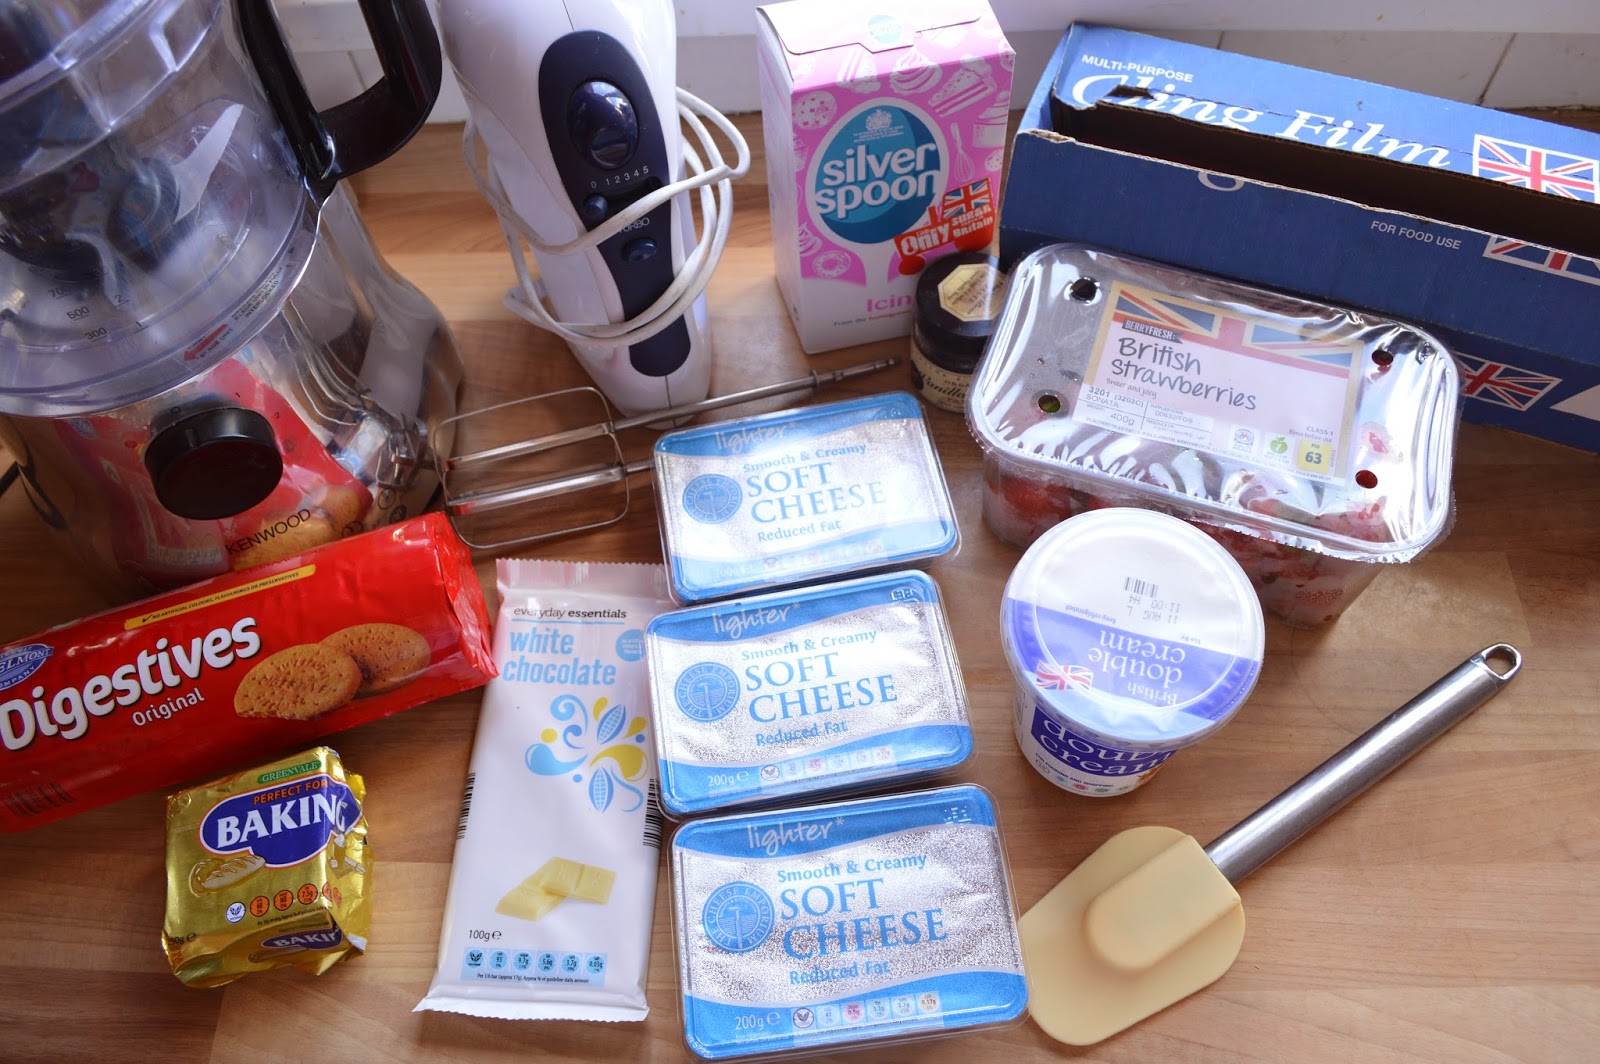
125g of Digestive Biscuits
75g of Melted Butter
Top:
300g of Soft Cream Cheese
1/2 Vanilla Pod or 1tbsp of Vanilla Extract
250ml of Double Cream
70g of Icing Sugar
70g of White Chocolate Melted
200g of Strawberries
Coulis:
100g of Strawberries
25g of Icing Sugar
 
Equipment:
9" Square Baking Tin
Cling Film
Electric Whisk
Food Processor or Rolling Pin
 
Method:
1. Line a 9" square baking tin with cling film and set aside. I normally do this with two large sheets so they over lap. This makes it easier to remove later on.
 
2. In a food processor, add your digestive biscuits and pulse till they resemble fine bread crumbs. Alternatively you could put them into a zip lock bag and go at them with a rolling pin if you feel particularly angry...it's a great stress reliever just be careful you don't bust the bag (I have done that before)
3. Add your melted butter and blitz until the mixture starts to come together and the crumbs look damp.
 
4. Tip the crumbs into your lined tin and start to firmly press the crumbs into the base of the tin. I used a rubber spatula the bottom of a glass works really well too, as long as they're tightly packed in the base.

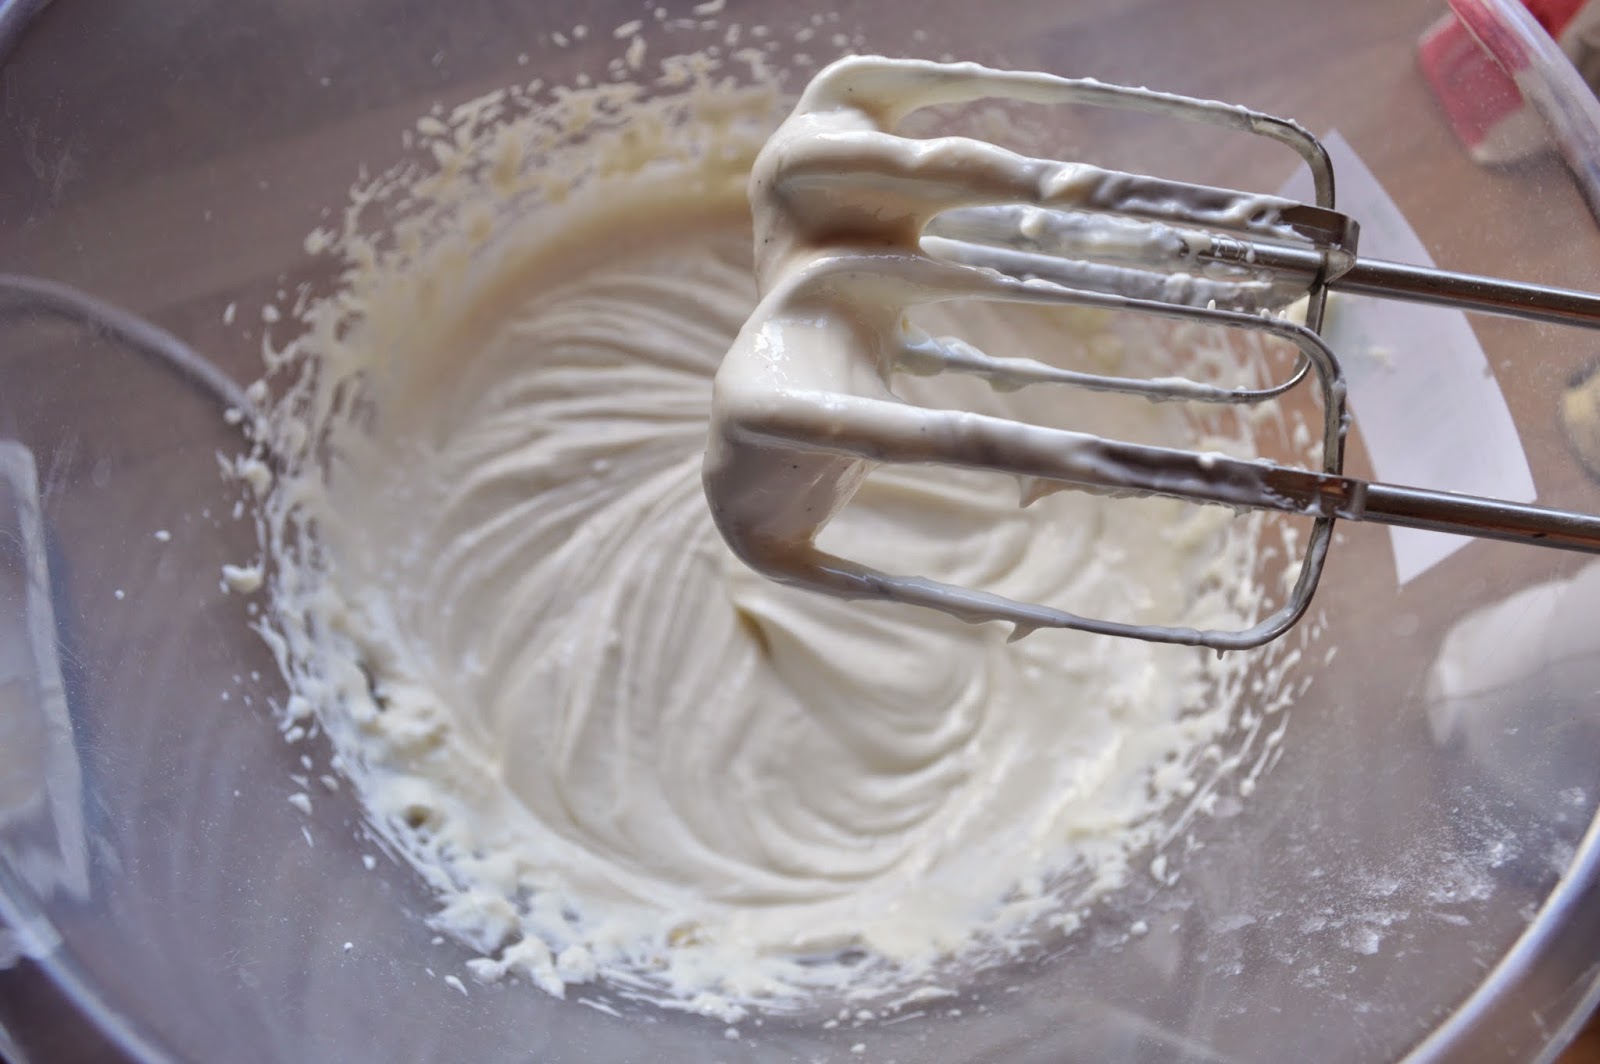
5. Put this in the fridge for at least 1 hour so the base has a chance to firm up. Now you can make a start for the topping. Place the cream cheese, icing sugar and vanilla into a bowl and whisk till it's all incorporated together.

6. You might need to scrape down the sides to make sure everything is well mixed. Now measure out your double cream.
7. Add the cream to your batter whilst whisking. I measured a little over 250ml as I saved some for later to have with the finished cheesecake.
8. Add your melted and cooled white chocolate to the mixture.
9. Rinse, hull and half your strawberries then add them to your mixture.
 10. Add the chopped strawberries to your mixture and fold through.
 11. Pour the mixture on top of the cheesecake base and smooth into all of the corners.
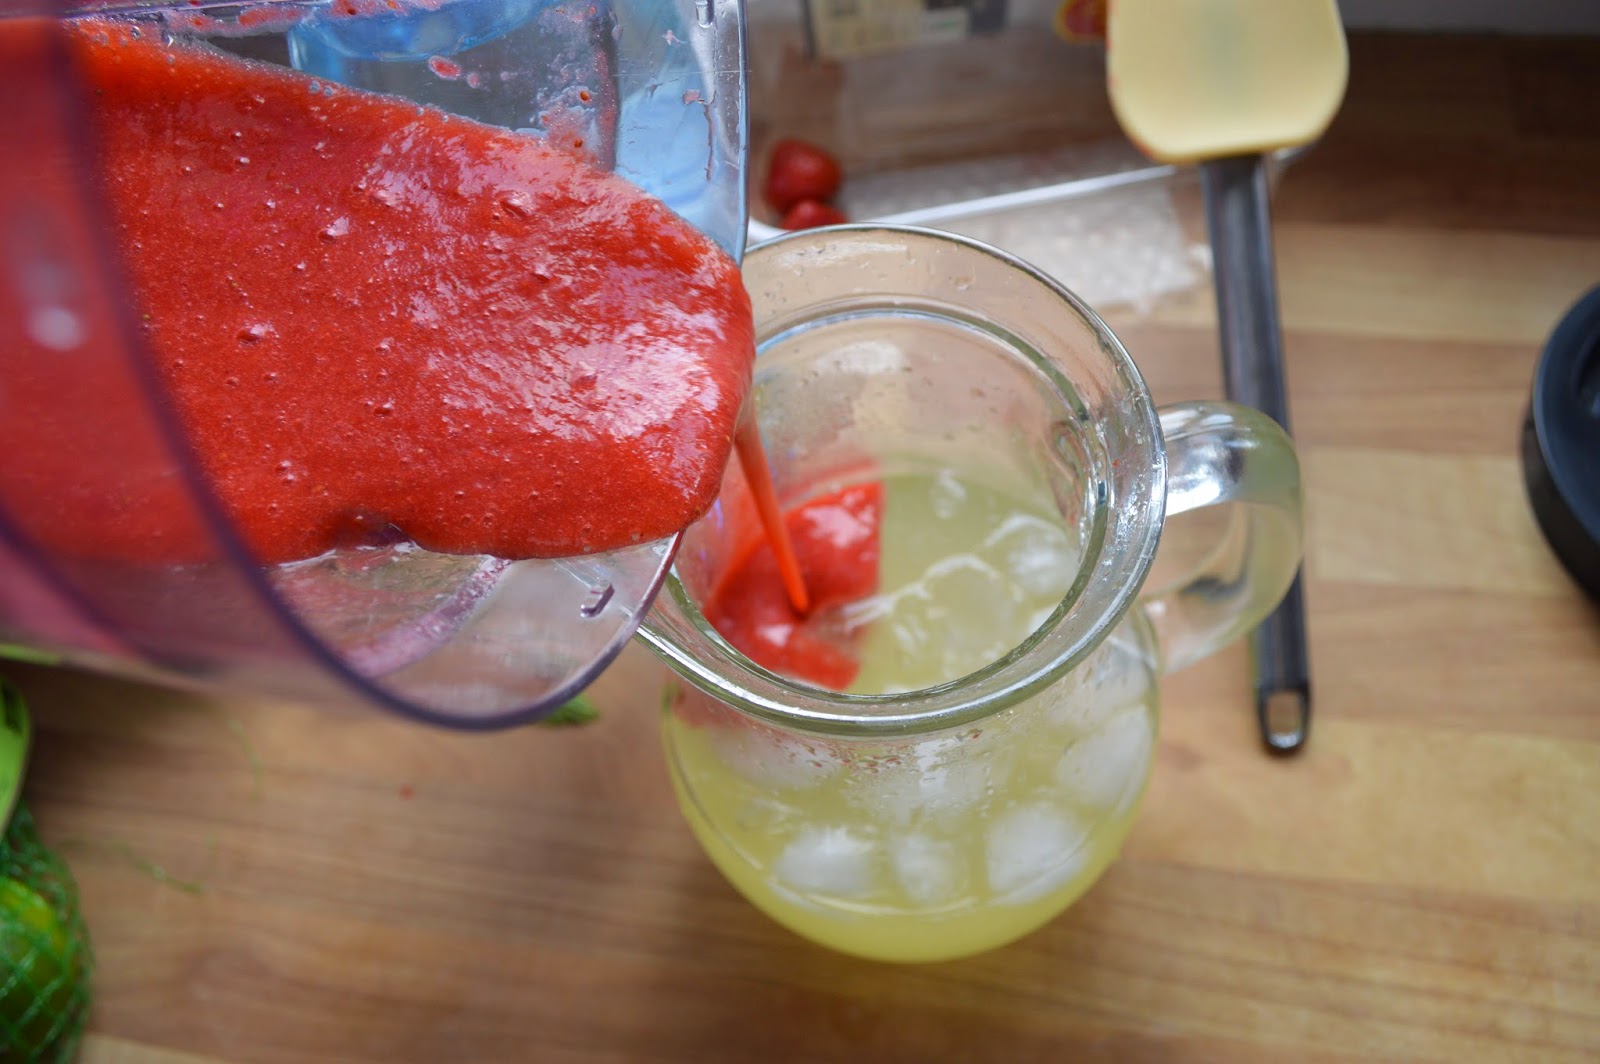
12. Add your remaining chopped strawberries to a food processor with the icing sugar and blend till a smooth pure is formed.
 13. At this point it would be ideal to sieve the coulis and I could come up with an excuse but I simply forgot to. Add small tea spoon amounts to the top of your cheesecake.
14. Take a clean skewer or toothpick or even a knife and drag it through the 'blobs'
 you just put on top of the cheesecake.
15. You're aiming for a marbled effect, don't over do it just enough so it starts to marble in. Now put it in the fridge to set. Ideally it would be overnight but this cheesecake needs to chill for at least 8 hours.
16. Take the cheesecake out of the fridge when it has completely set, you may need to put it in the freezer if you're having problems with it setting. I cut my cheesecake into 9 squares but you can choose a size and amount that you prefer.
17. I kept the left over coulis that I topped the cheesecake with and drizzled it on the plate. I served it along side some fresh strawberries and a sprig of mint.
 
And that's it, no bake easy cheesecake. It might take some time to set, so you need to be patient. I honestly love cheesecake. Adding fresh summer fruit to this recipe is perfect. You can however customise this, you could do a cookie dough cheesecake, Oreo cheesecake or even a Nutella Cheesecake. All of these recipes will be on their way in the future.
 
As ever, thank you very much for reading and I hope you have successful results. If you recreate this recipe, tweet or Instagram me, my links are all on here and use the hashtag #BakingWithLuke, I love seeing your pictures of the things you've made.
 
Luke.
SHARE:
Blogger Template Created by pipdig